I carefully consider food pairings for our large hot sauce collection the way some people think carefully about wine. In this case, I would suggest using this with eggs, potatoes, or a pasta dish with a simple tomato sauce.
Ingredients
All amounts here can be adjusted according to taste except for the salt.
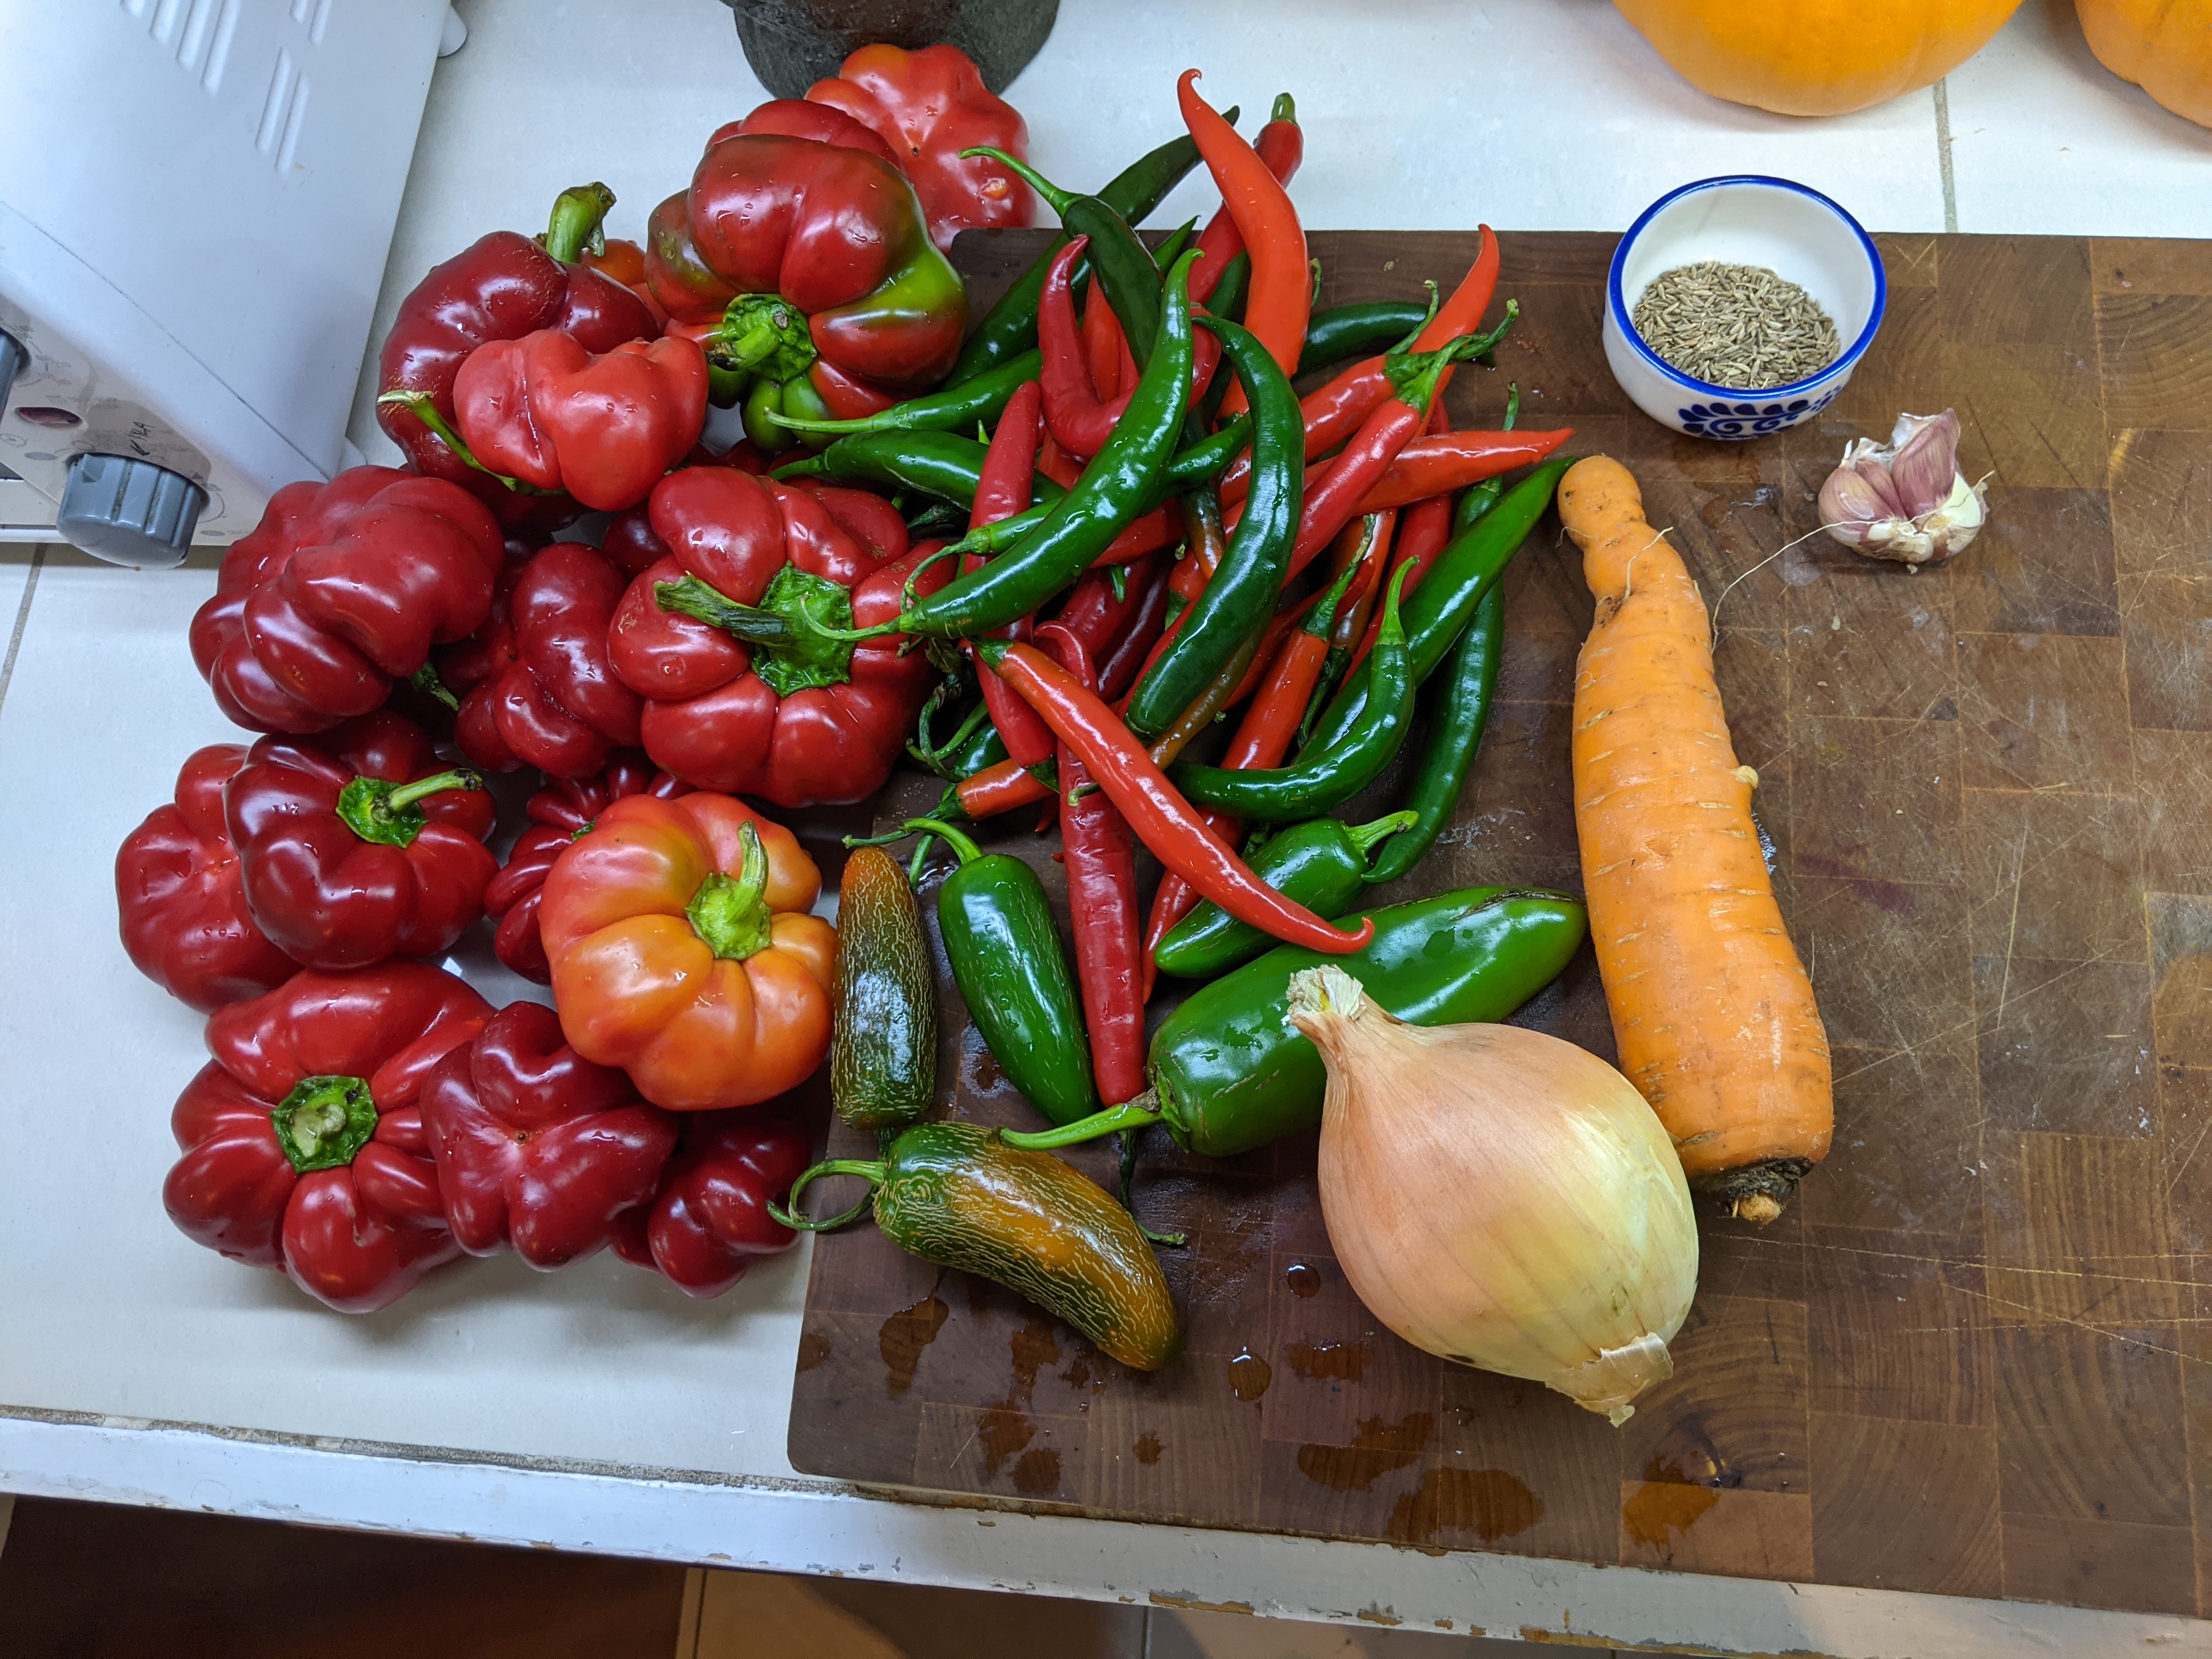
- Hot peppers
- Bell peppers
- Onions
- Carrots
- Garlic
- Cumin seeds
- Salt (in proportion to total weight of vegetables; see below)
Preparation
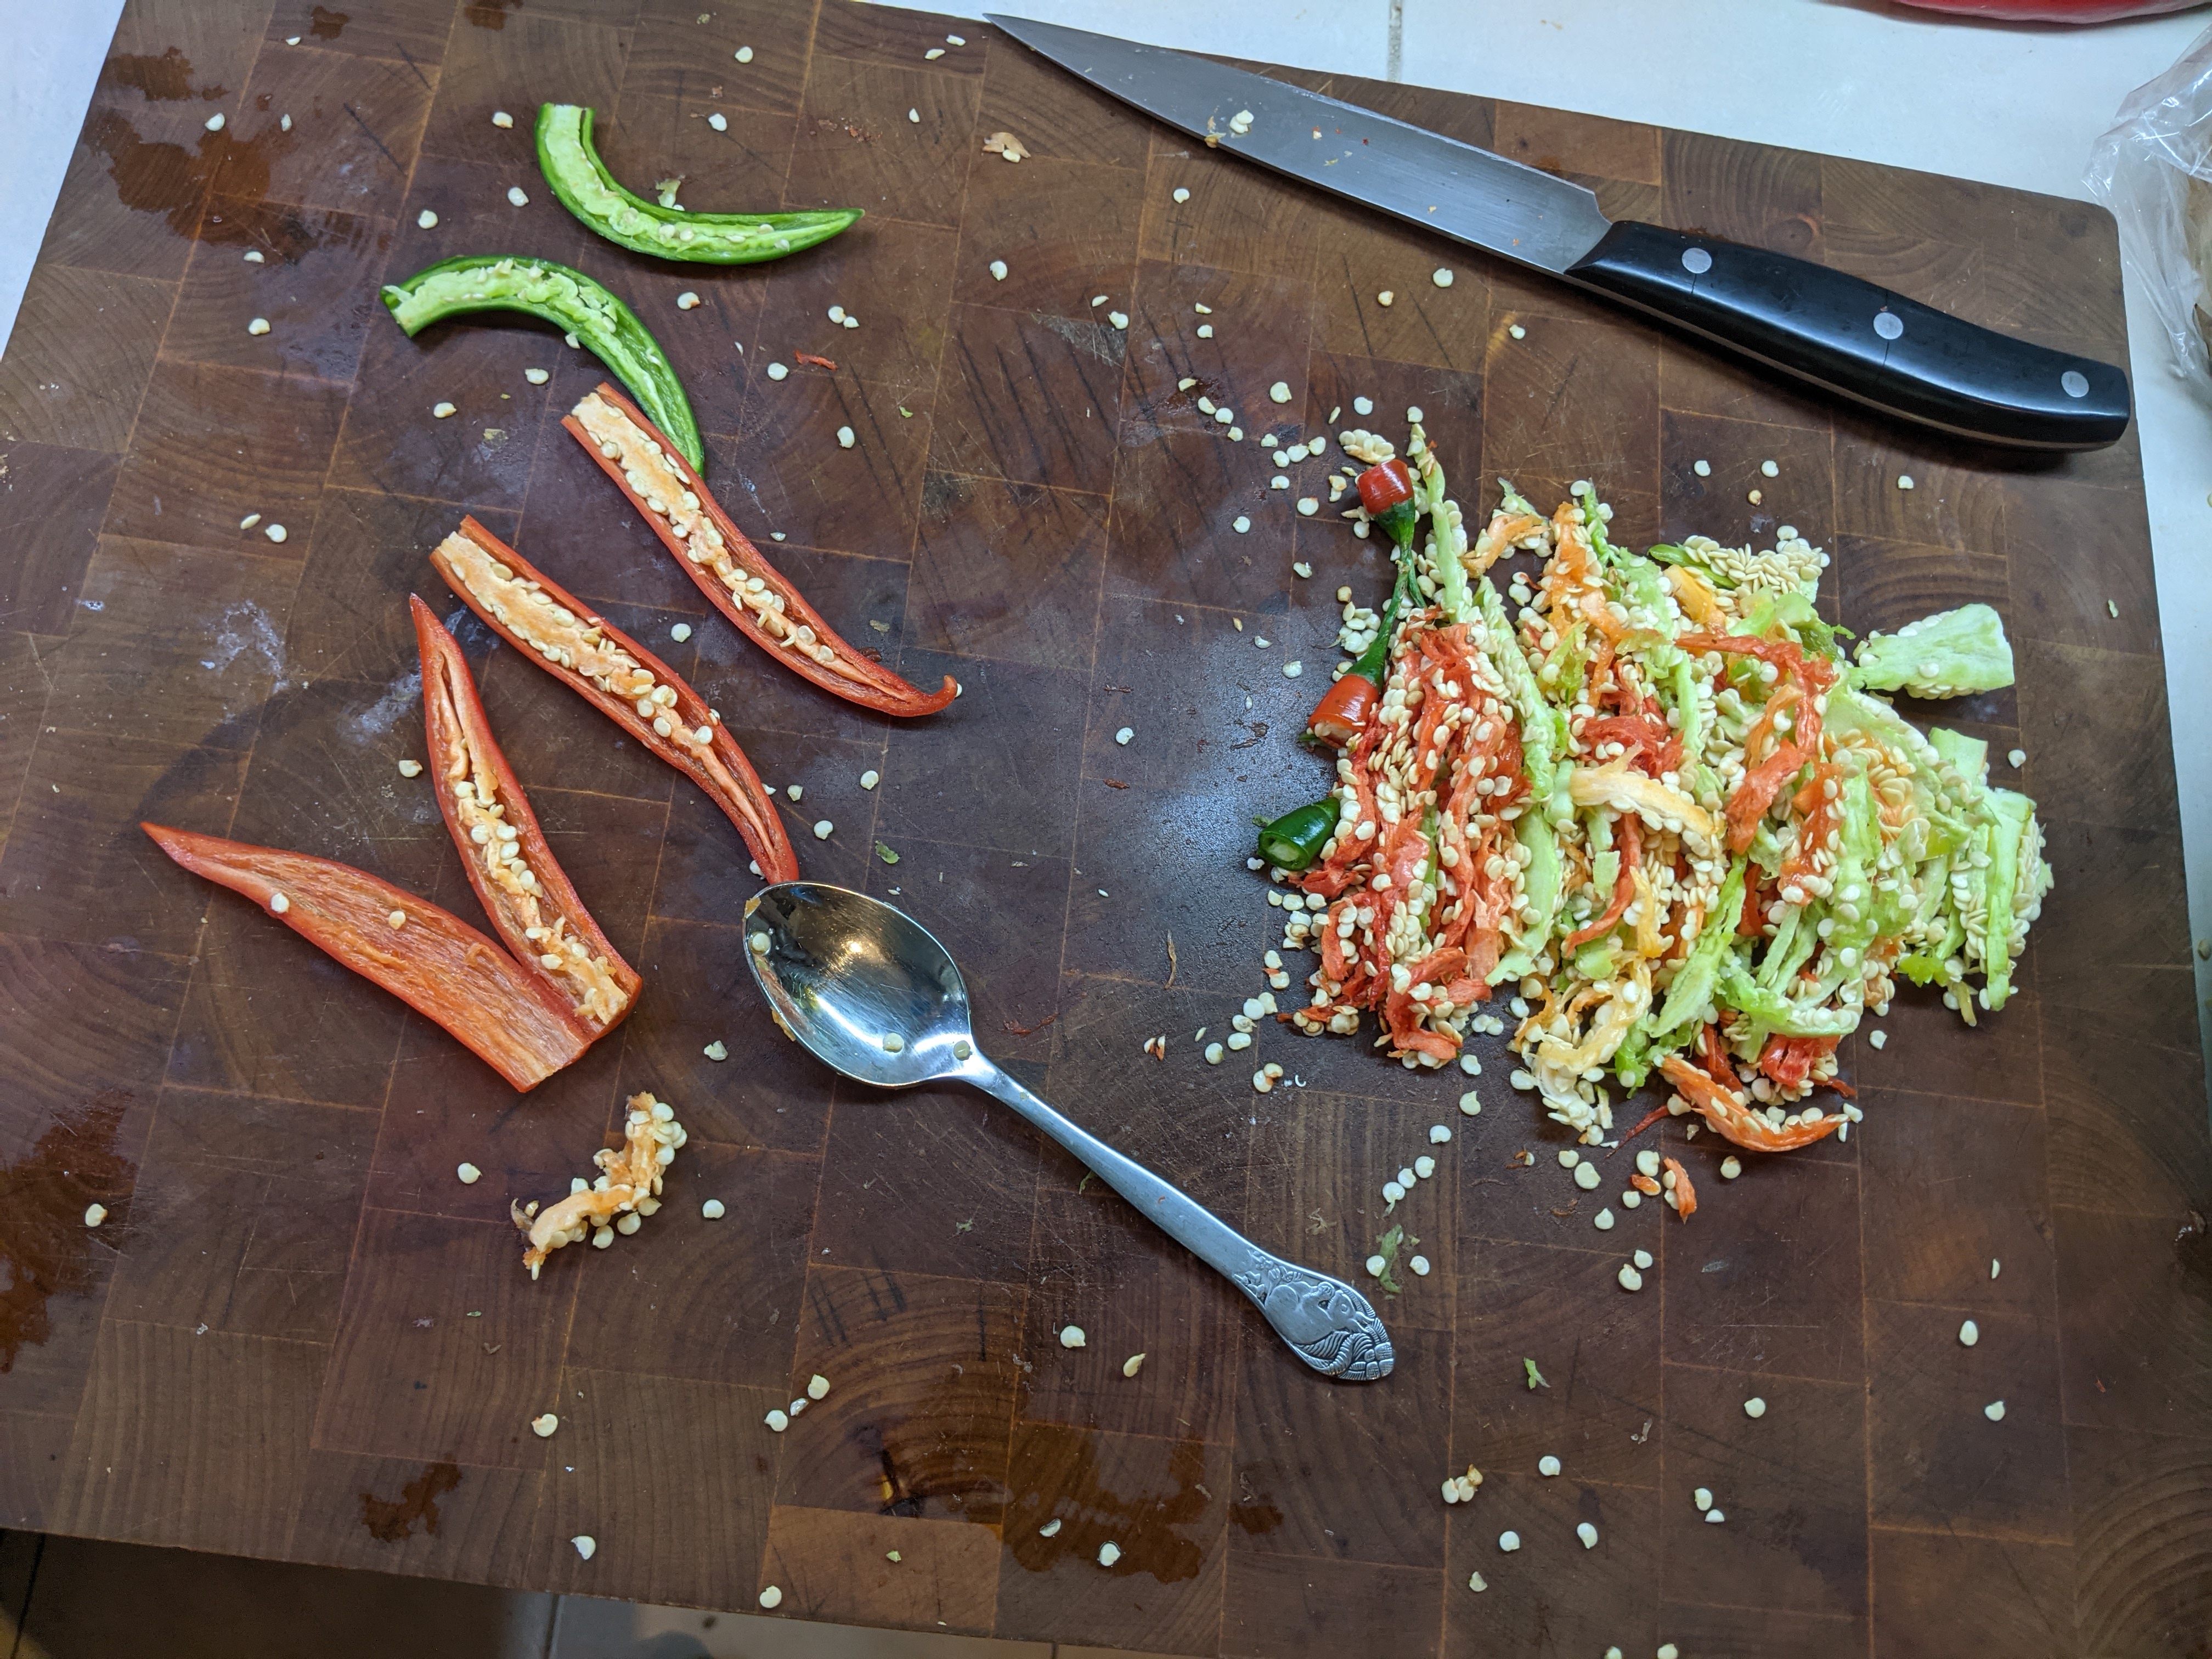
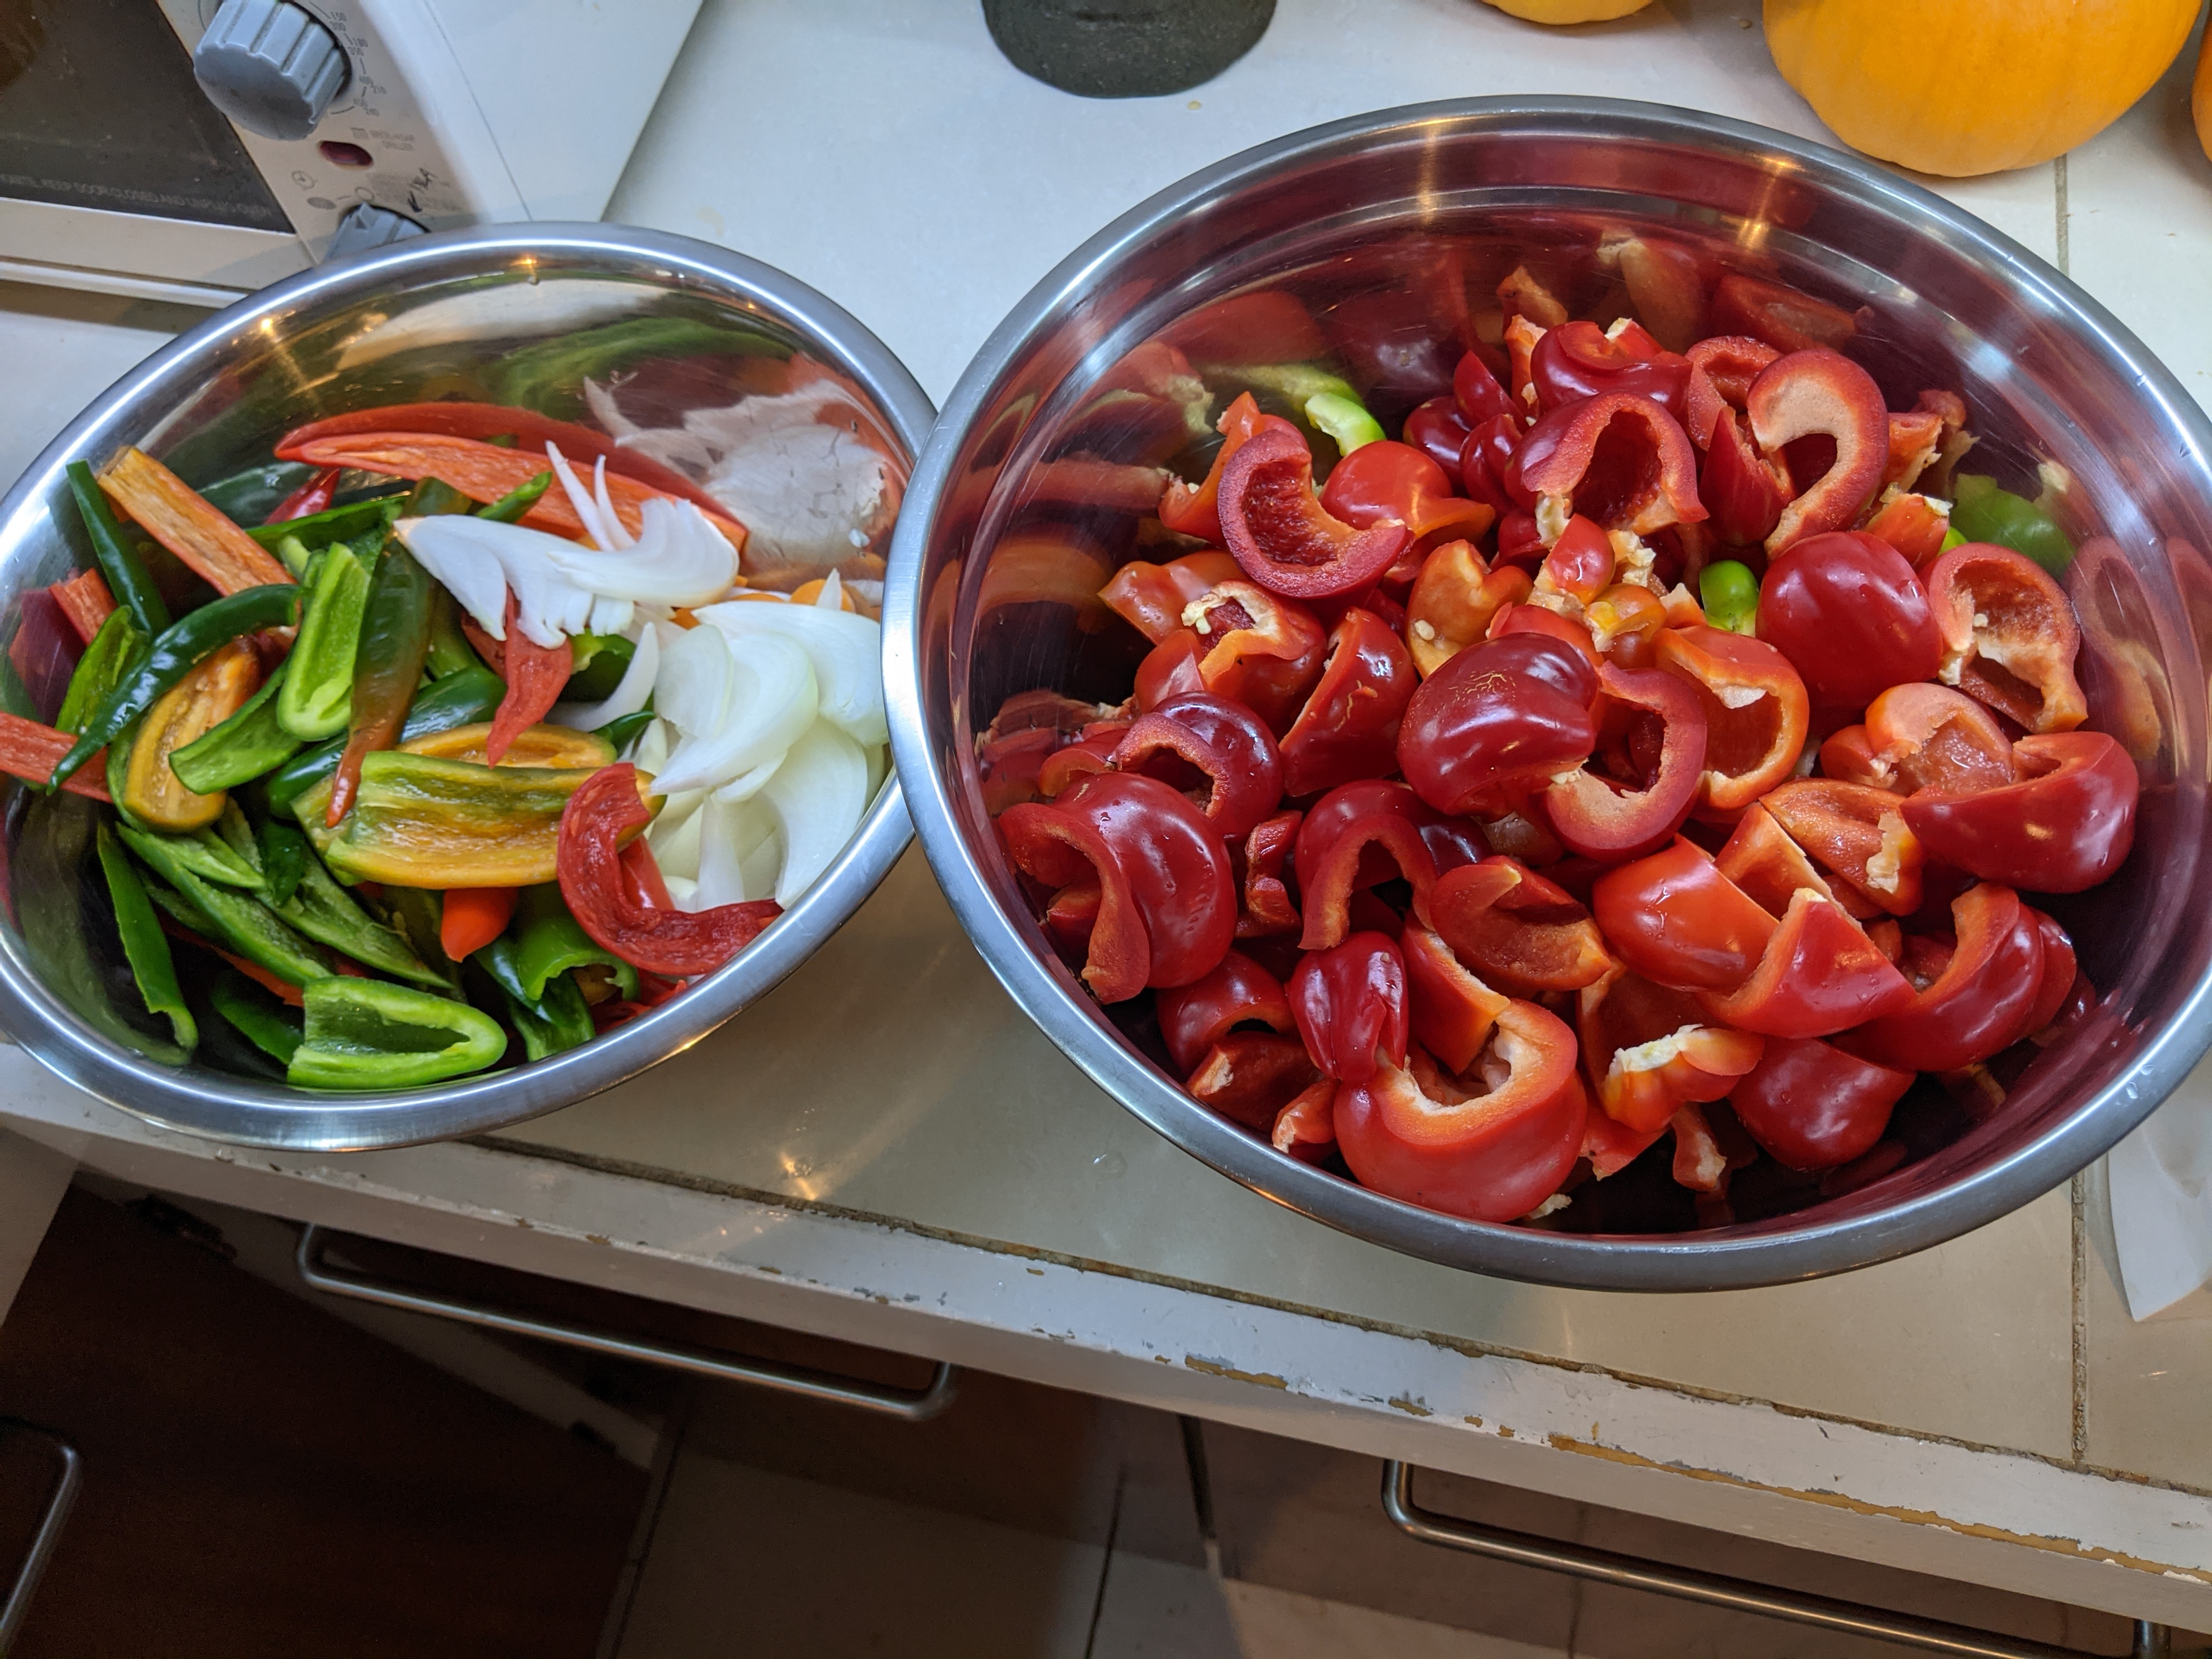
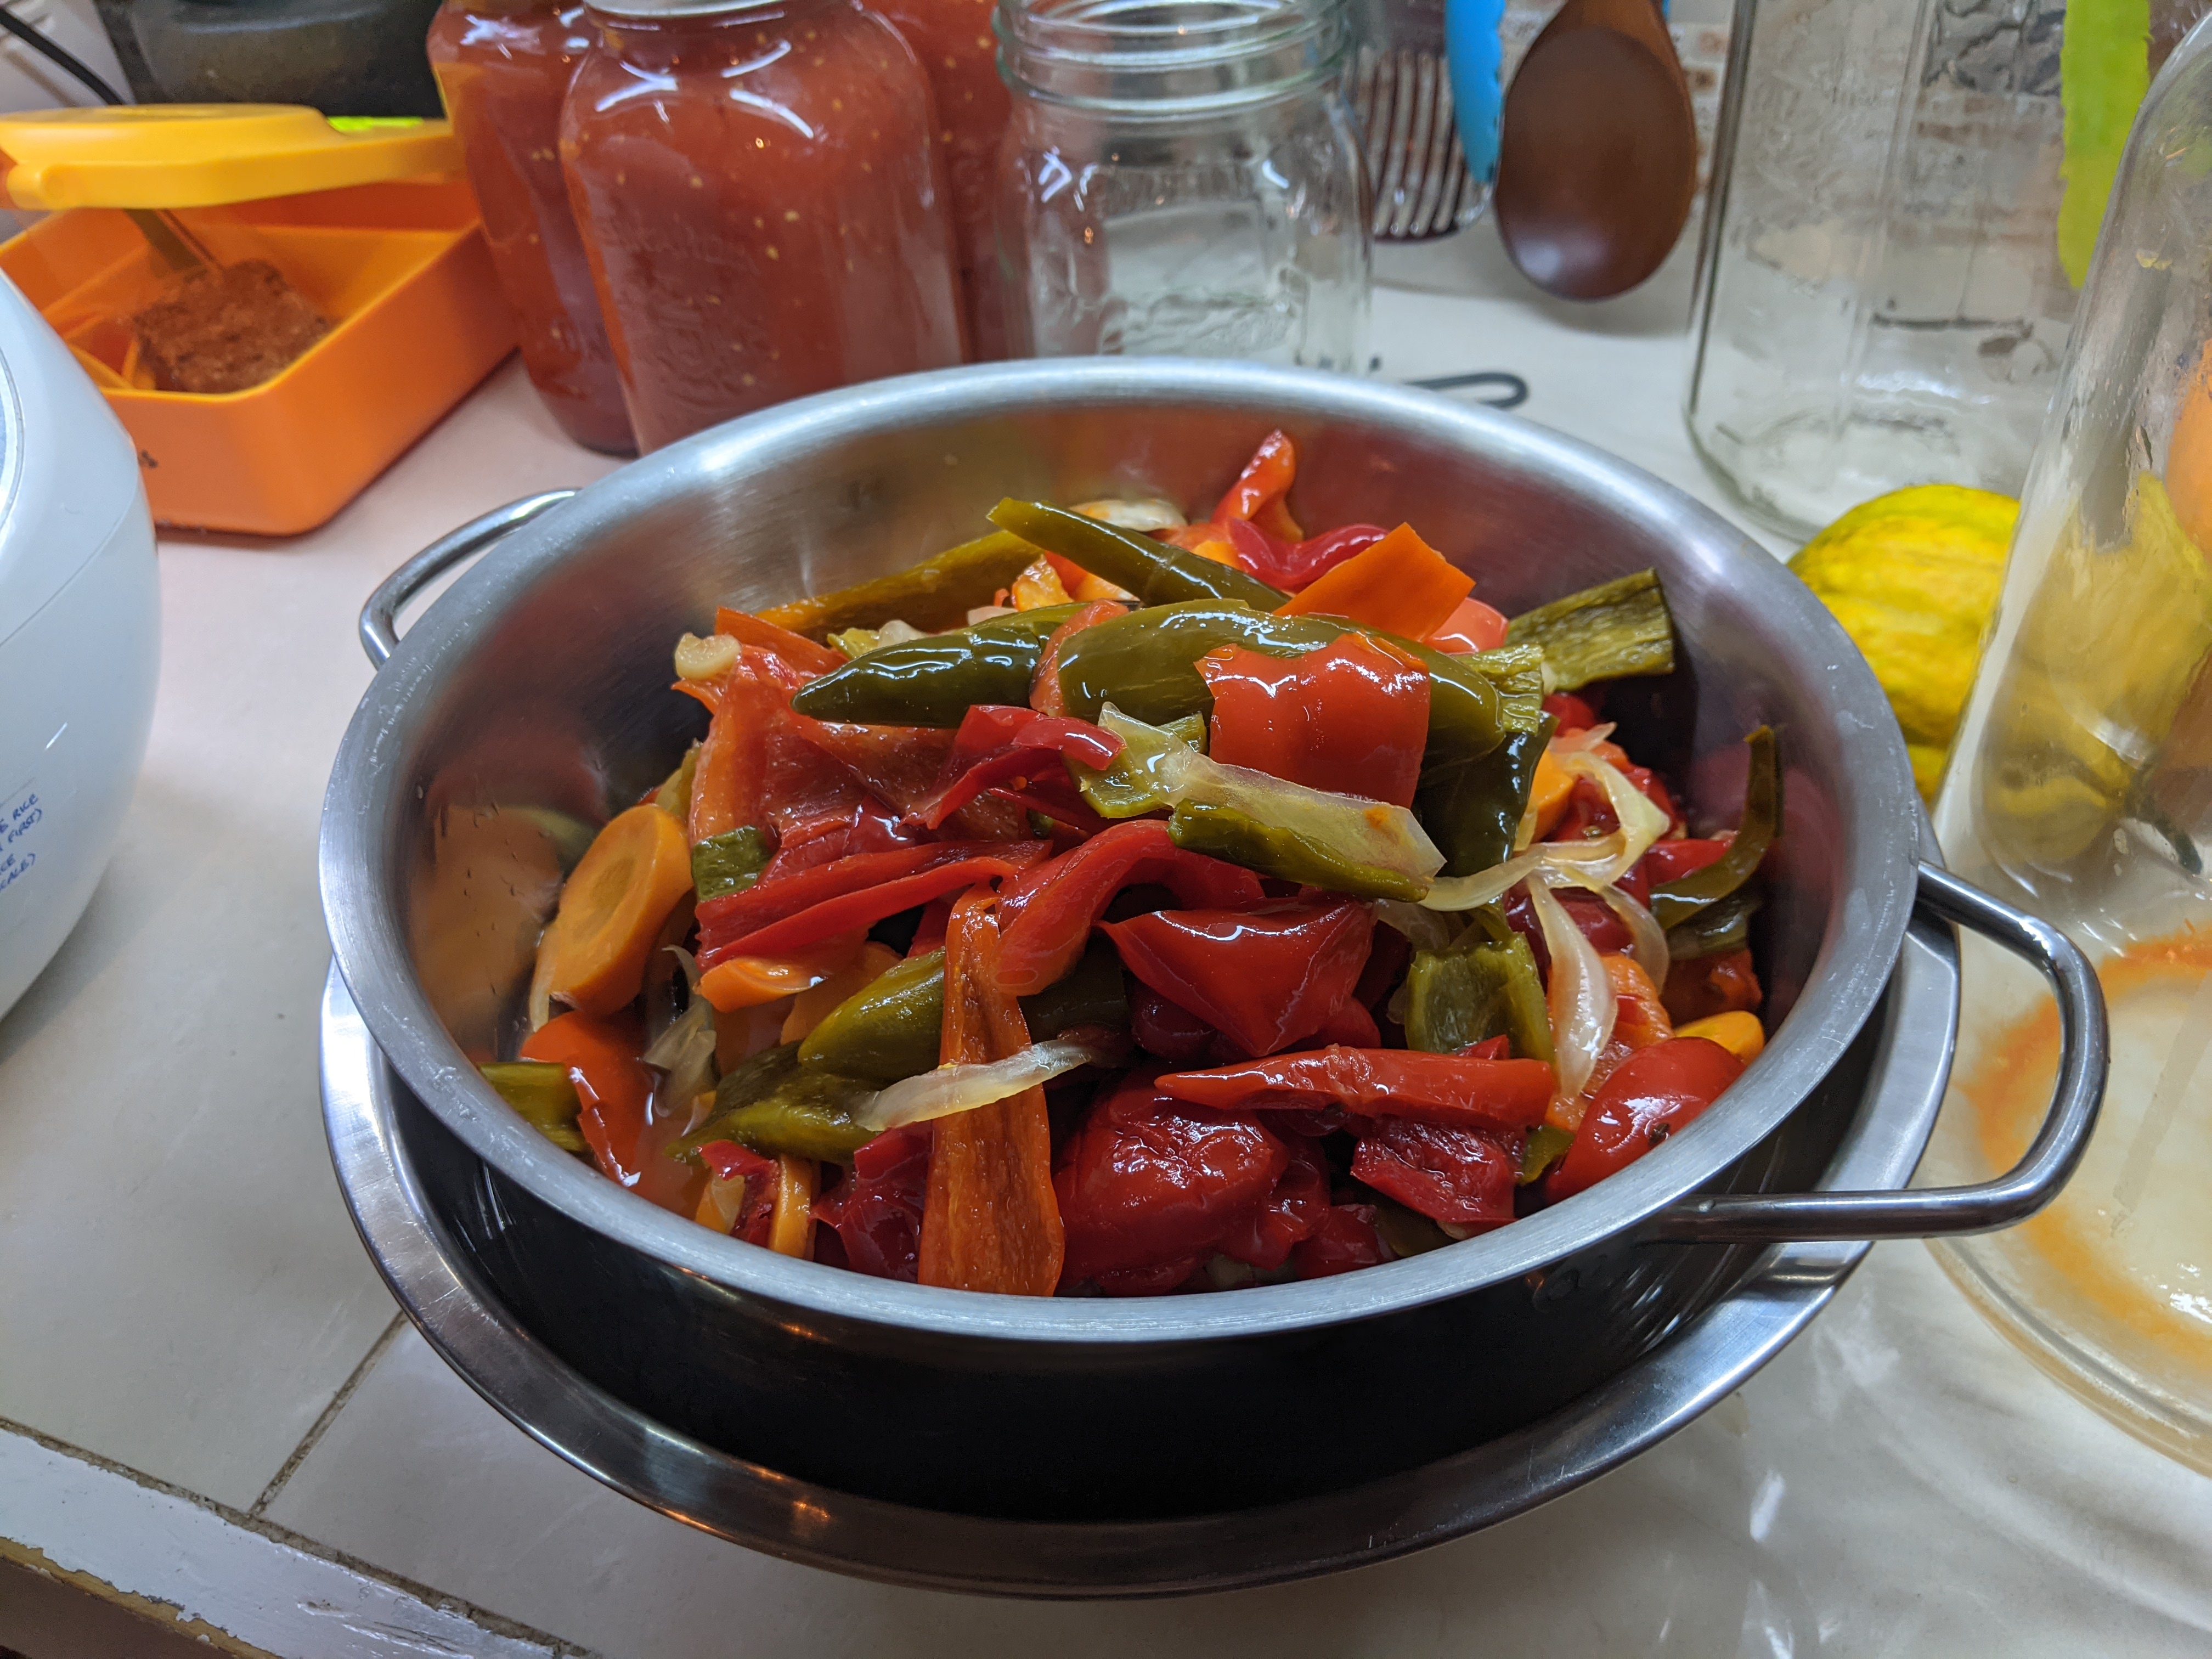
- Wash and coarsely chop all ingredients.
- You can seed some or all of the peppers if desired (the seeds have most of the heat and little of the other flavour in a hot pepper).
- Use gloves when seeding the peppers to avoid a chemical burn.
- Roast the cumin seeds and garlic in a dry skillet.
- To roast garlic, heat it with the skin still on, turning occasionally, until the skin is black on all sides.
- To roast tomatillos, remove the outer skin, halve them, and put them on the bottom rack of an oven set to broil until the tops start to blacken.
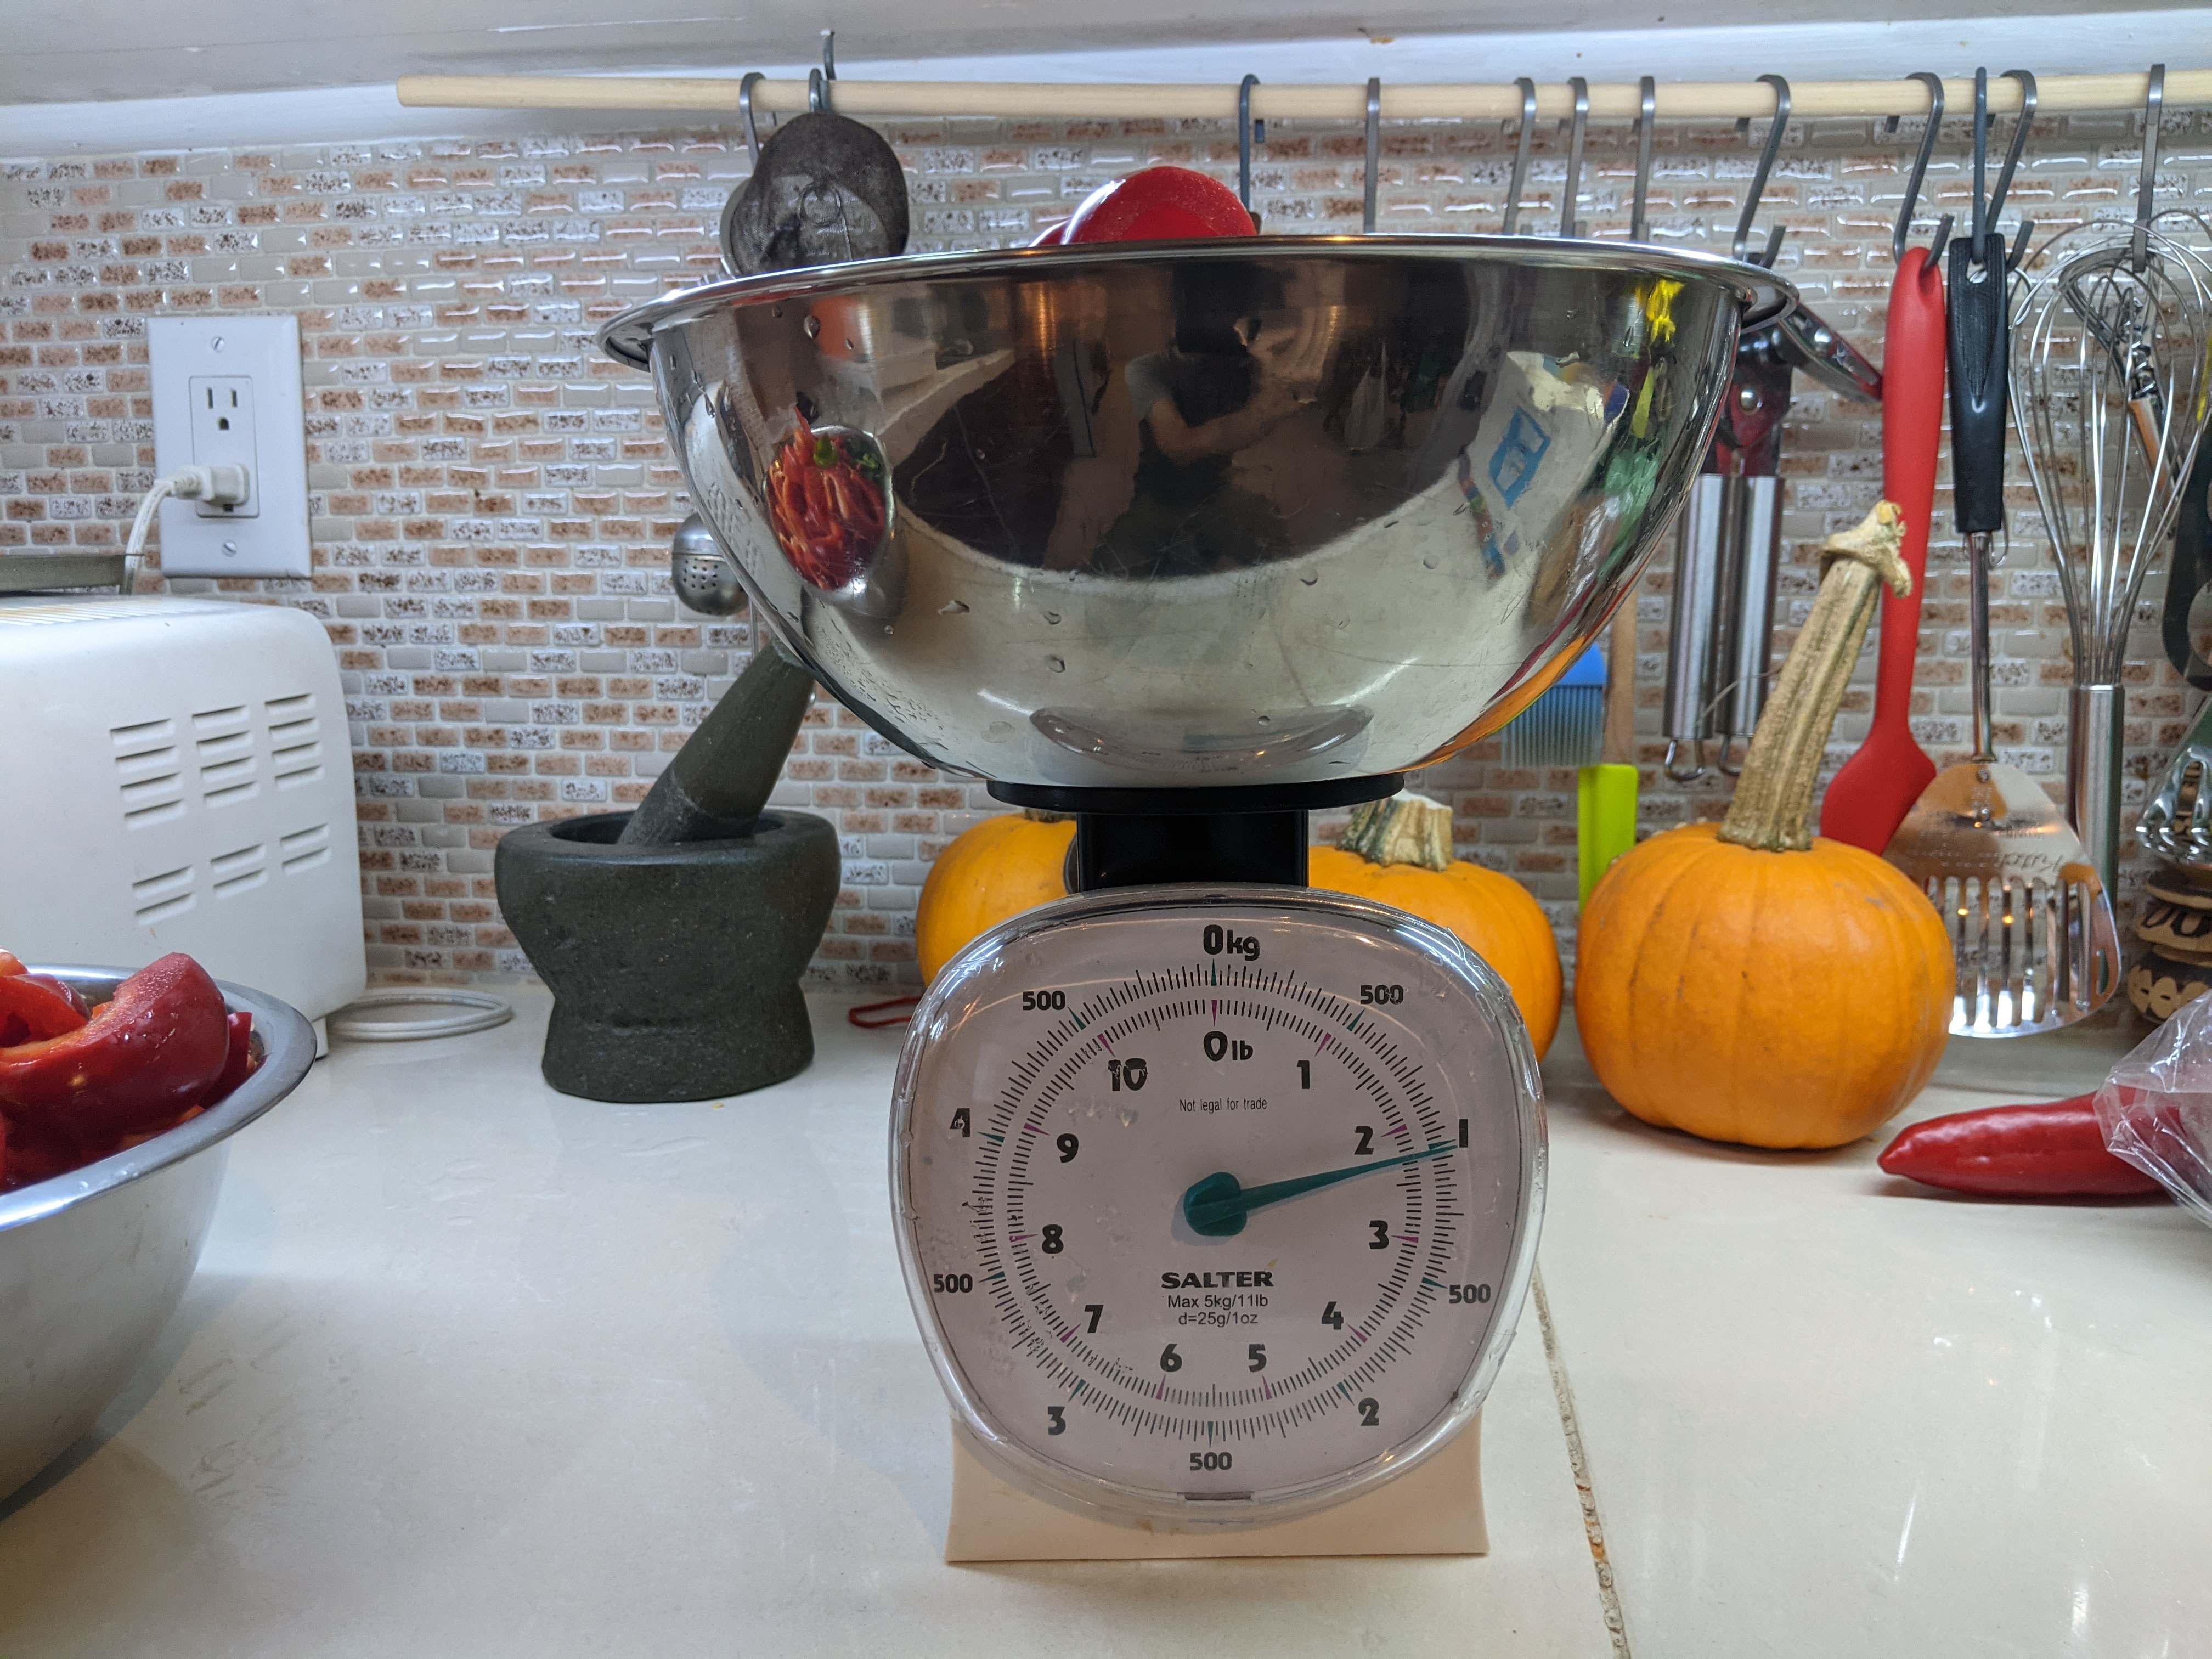
- Weigh the processed vegetables, place everything in a large bowl, and add 1.5 to 2 teaspoons of salt per pound.
- With your hands and wearing gloves again, work the salt into the vegetables ingredients until it’s thoroughly distributed and you see liquid extracted from the vegetables by the salt via osmosis starting to collect in the bottom of the bowl.
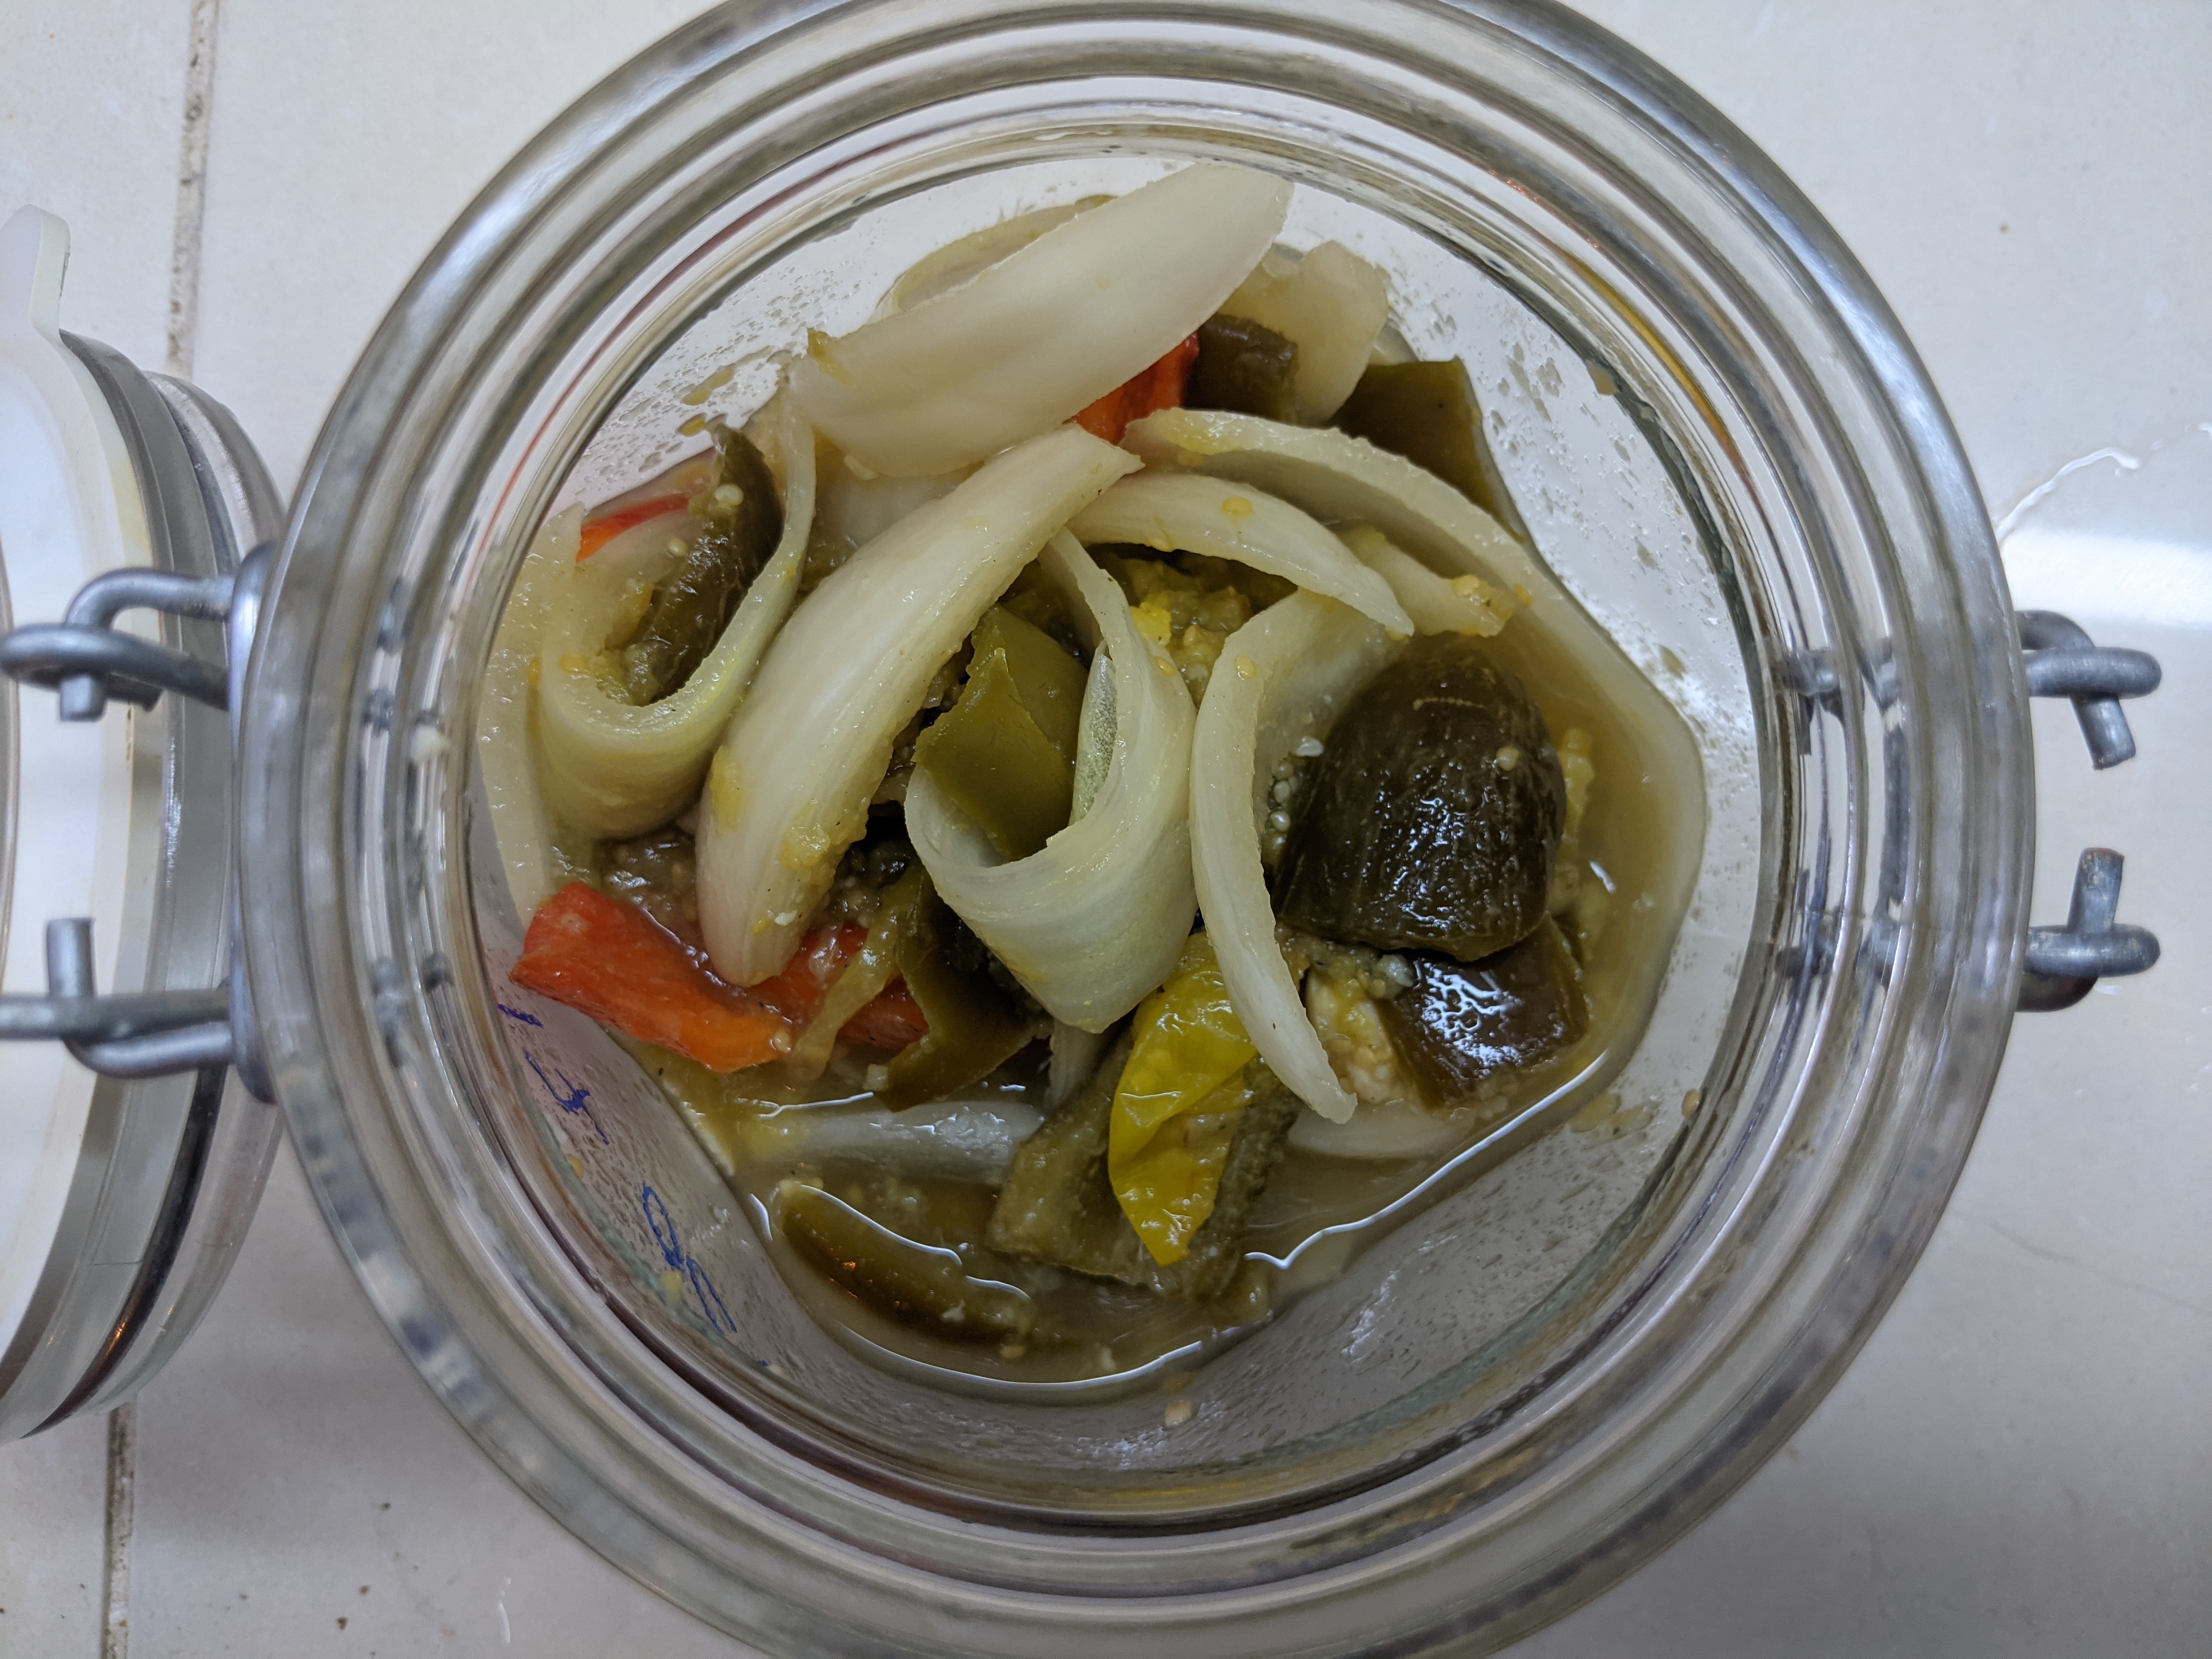
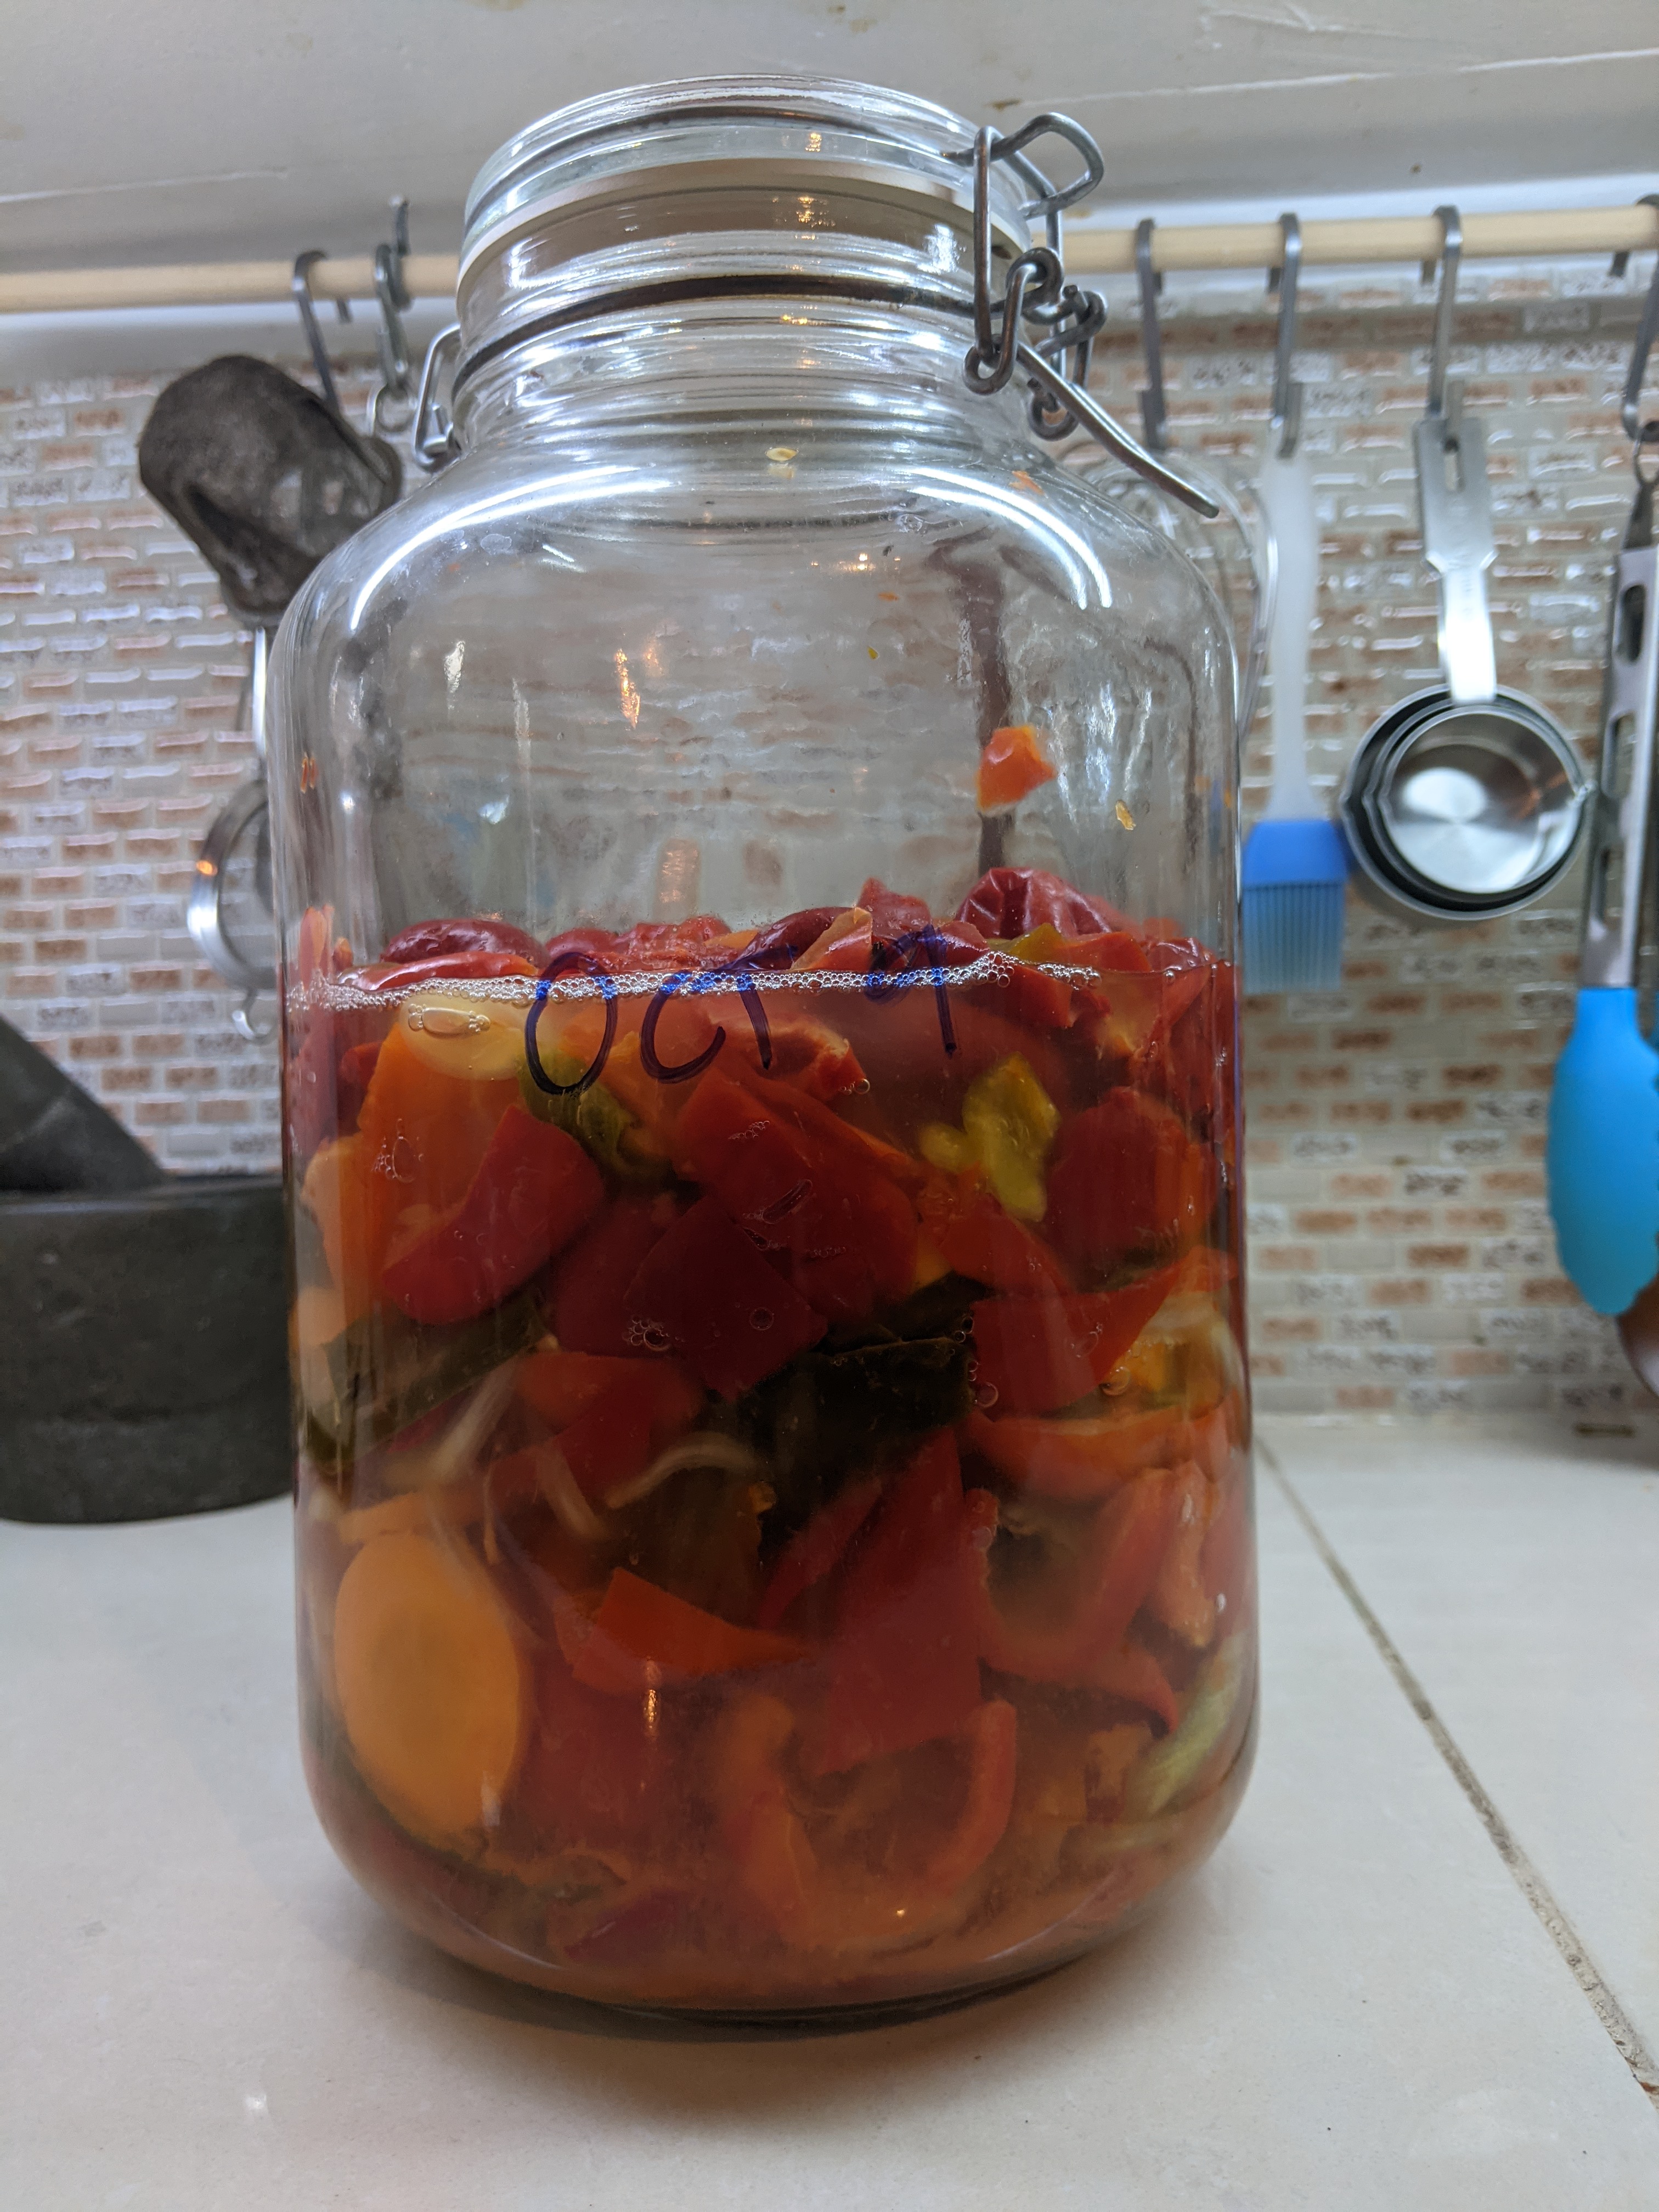
- Place the entire mixture into a large airtight jar, but ensure the jar is not sealed too tightly for air to escape (see below).
- Store the jar at a cool temperature (18-20 degrees) and out of the sun for two to three weeks, or until it tastes sour enough for you. (If it’s too warm the fermentation will happen too quickly and the flavour won’t be nearly as rich and interesting.)
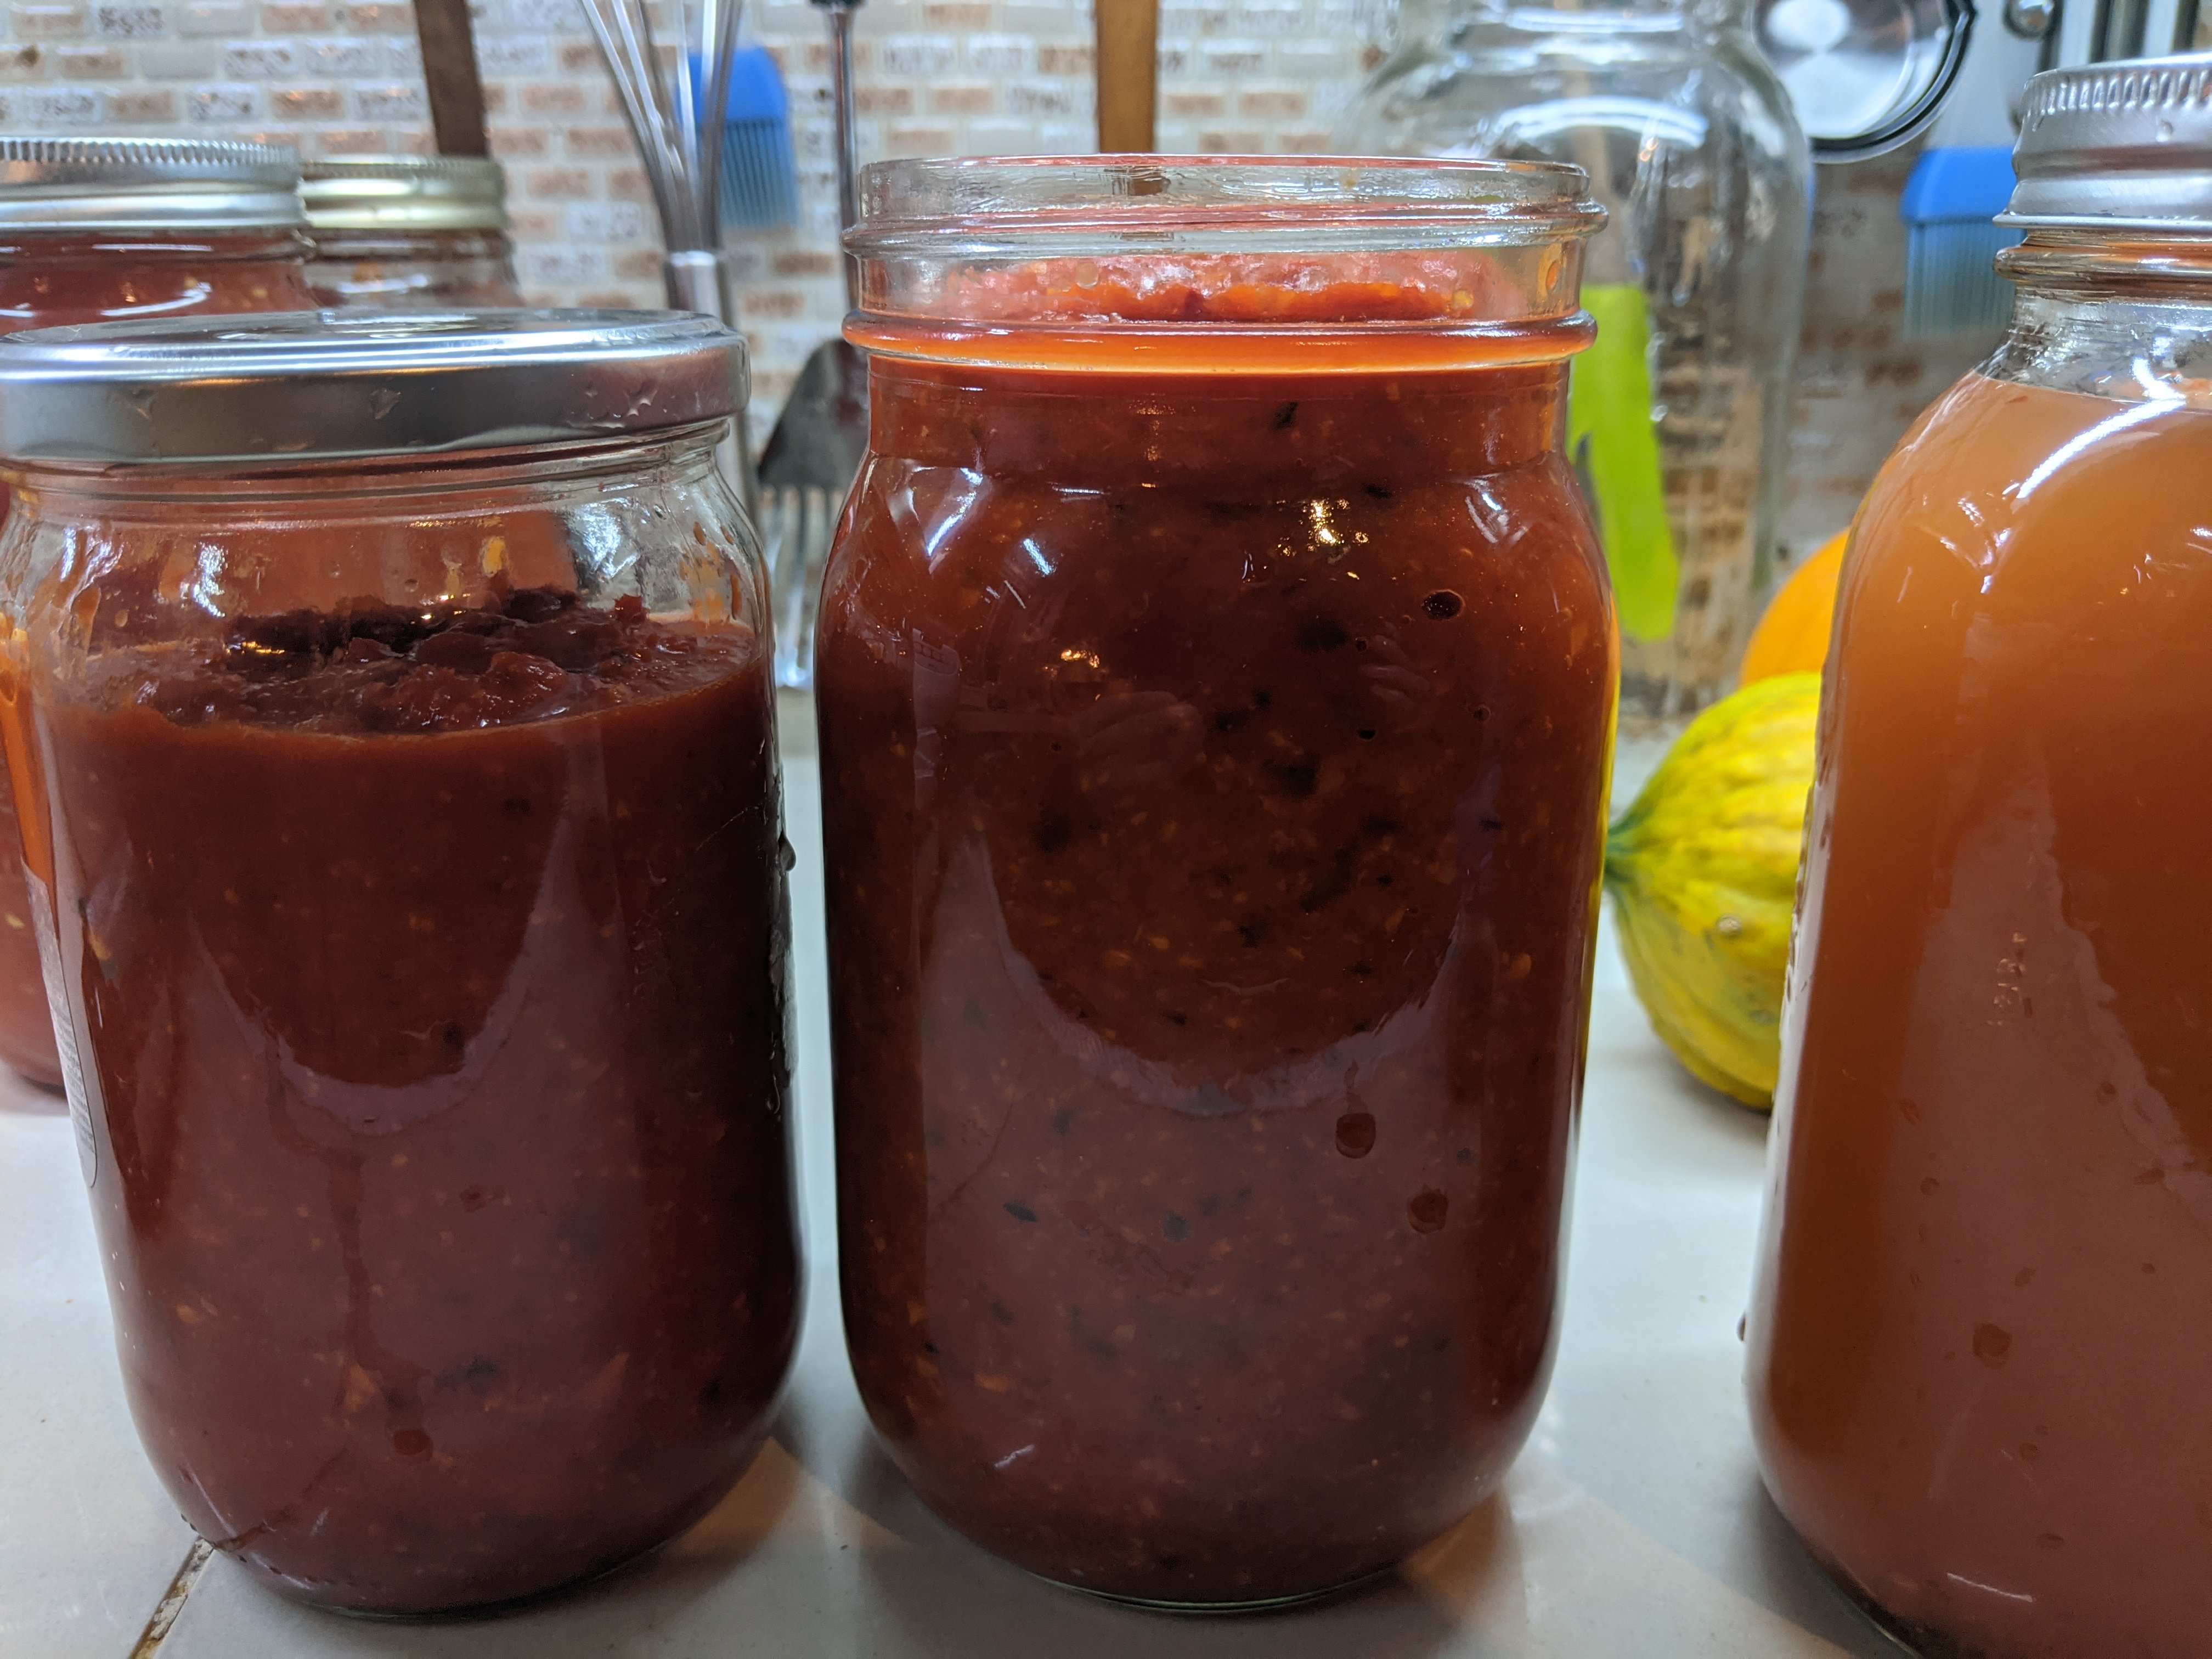
- Drain the liquid, then blend to make a sauce.
- Store in the fridge and use within four to six weeks.
How to choose a jar
There are many options, from vapour locks used by homebrewers to a simple plastic lid screwed firmly but not too tight. Any of these will work for lacto fermentation as long as oxygen from the air doesn’t touch the vegetables but carbon dioxide produced within the jar can escape. In a day or two you should see bubbles forming in the jar, and if your lid is tight enough you’ll hear gas escape if you loosen the lid slightly as a test. If you use a tightly sealed glass jar, it is possible for the pressure to build to the point where the jar will burst, so be careful! The easiest solution I’ve found is to just use any bail lid jar, for example the Fido brand (as suggested by my colleague Jason, whose home fermentation successes inspired me to try as well).
Further reading
For more on home fermentation in general, a good place to start is Wild Fermentation by Sandor Katz.
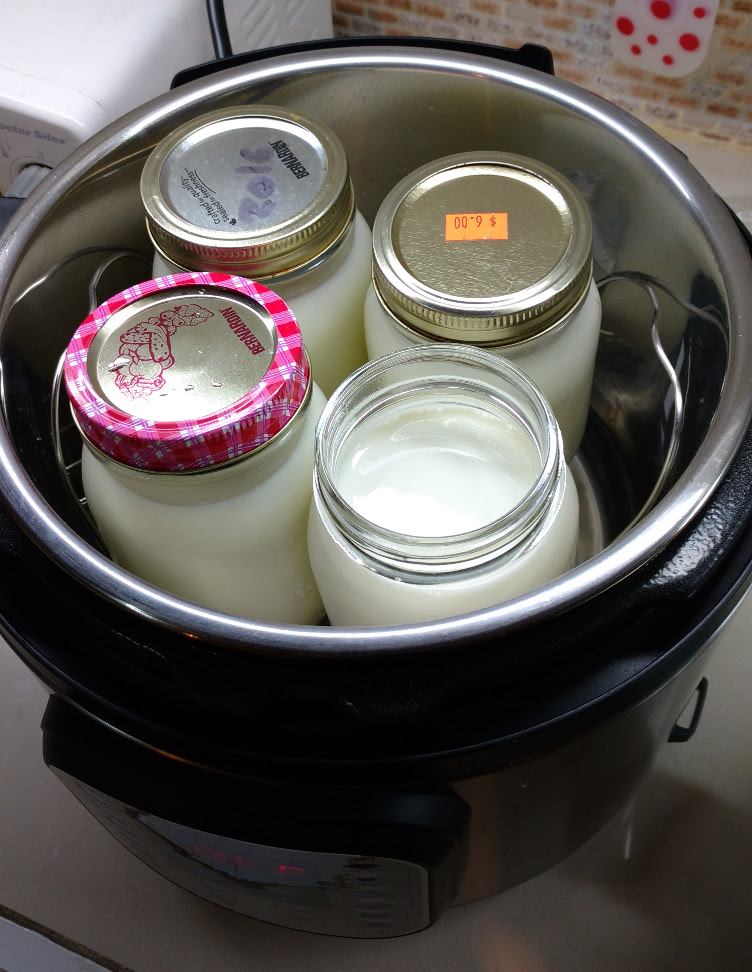
Photos